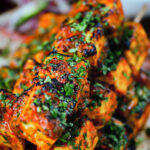
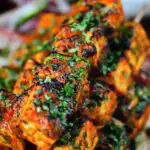


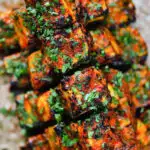

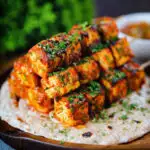
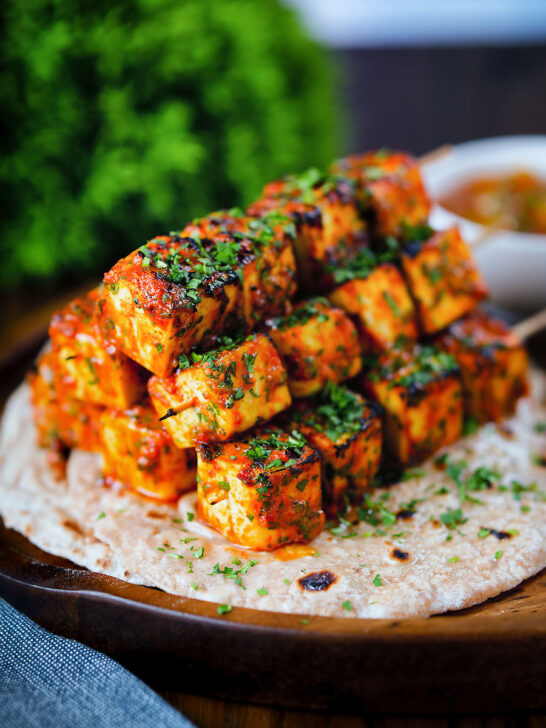
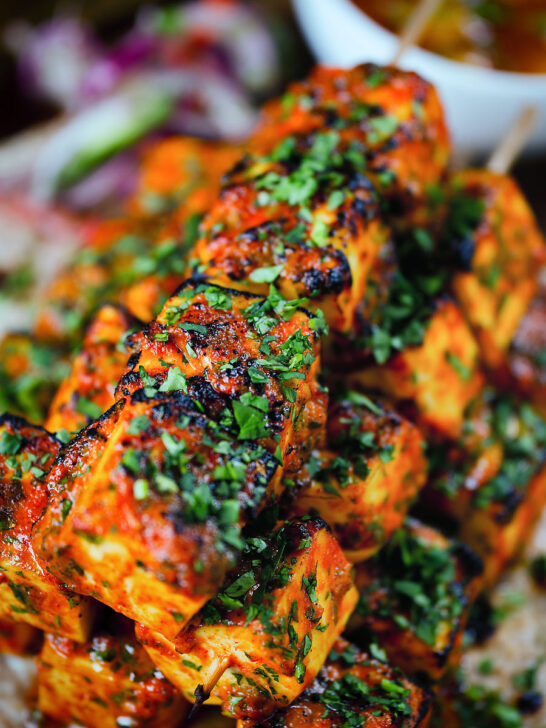
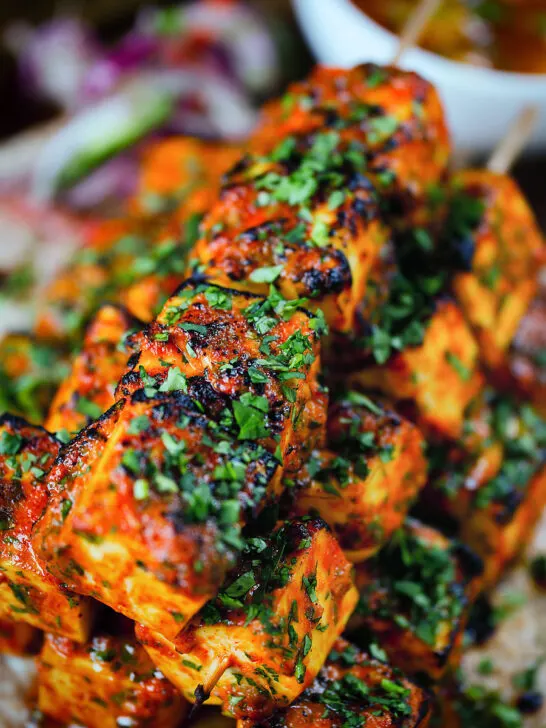
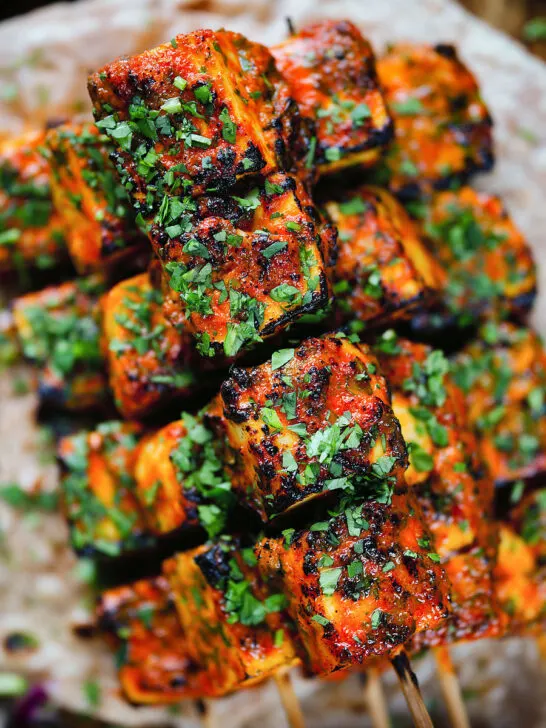
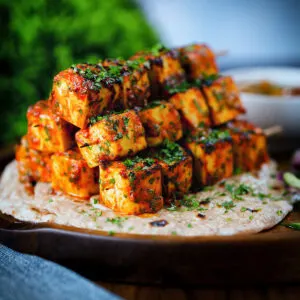
Paneer tikka kebabs, spiced cubes of Indian "cottage cheese" marinated in a tandoori spiced yoghurt and quickly cooked until charred.
These delicious munches can be cooked under a grill or broiler, in a hot oven, in an air fryer or even on a BBQ, and I have instructions for all four!

Tandoori Paneer Tikka Chunks
It is no secret that I have a thing for Indian-inspired flavours and tikka is one of my favourites.
Tikka are essentially bite-sized chinks of food marinated in a Tandoori marinade with a yoghurt base.
These paneer tikka kebabs join lamb tikka kebabs, chicken tikka and a wonderful salmon tikka. And if you love tikka, then be sure to check out my Amritsari fish fry recipe, which is very much in the vein of "same but different"!
They are super simple to cook and can be rustled up in under half an hour, although you can marinate for up to four hours if you want to get stuff ready in advance.
They cook in right around 7-8 minutes. You can slide them under the grill or broiler, pop them in the oven or air fryer and even drop them on the barbecue.
I like to serve them as a light main, but they make a great starter.
Of course, they also sit at the heart of paneer tikka masala curry and surprisingly at the heart of this paneer salad.
Frequently Asked Questions
What is the best way to cook these kebabs?
My personal favourite way to cook them is on the barbecue. However, since returning to the UK BBQ weather is far less frequent.
As a result, these are most often cooked under a fiercely hot grill (broiler) in our house.
What are the timings and temperatures for alternative cooking methods?
BBQ Method:
Place over direct heat and turn every minute or two, making sure that the skewers do not burn.
Air Fryer Method:
Preheat an air fryer to 200°C or 400°F, spray the basket with release spray and add the kebabs. Cook for 8-10 minutes.
Oven Method:
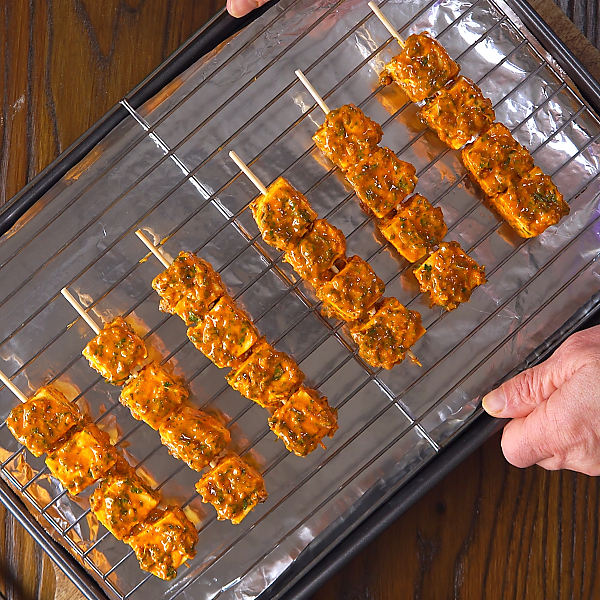
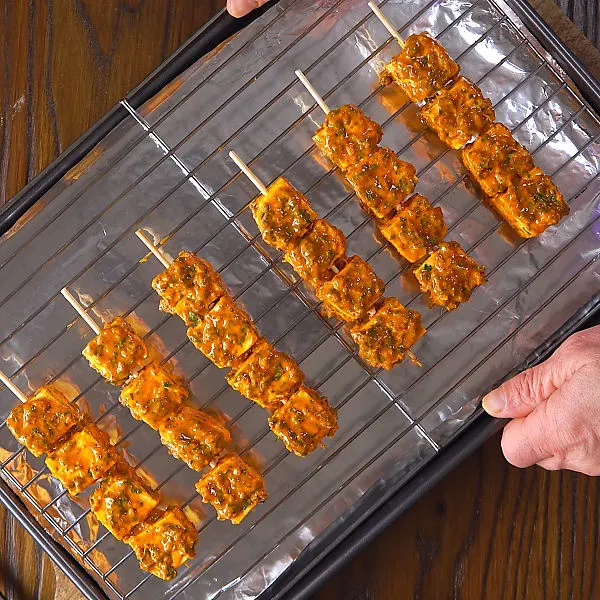
Cooking these paneer tikka kebabs in the oven works best if you have a fan-assisted oven. Preheat the oven as hot as it will go and place the kebabs on a wire rack.
Cook for 12-15 minutes or until nicely coloured.
Is a long marinade essential?
No, not at all. It is an option that allows you to get your dish ready early.
Unlike a meat or fish option, the flavours do not really "impregnate" paneer to the same extent, so at a push, you could go straight from coating the cheese to cooking it with no real issues.
Can I add vegetables?
Yes, although my favourite way of cooking these paneer kebabs is under the grill, which means the vegetables don't get much of a chance to cook.
As a result, you need to choose quick-cooking vegetables that are ok to heat if they still have a little bite. Cherry tomatoes, bell peppers and sweet red onion are all nice options.

Serving Suggestions
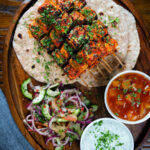
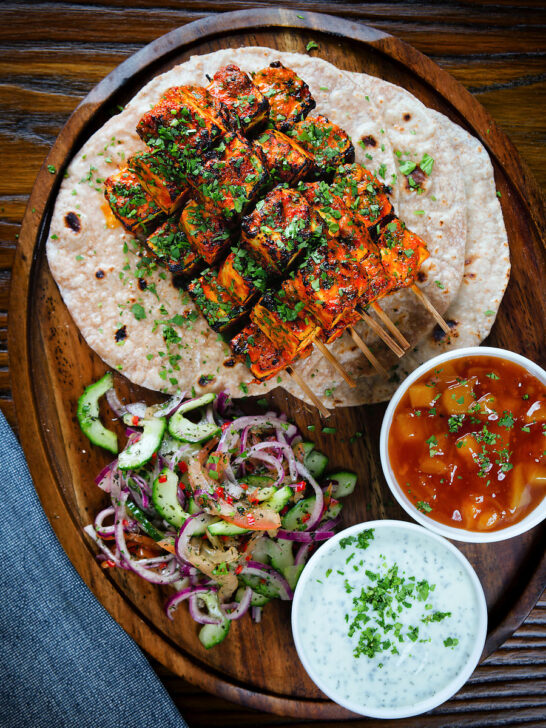
Paneer tikka kebabs are simply glorious served with a salad, some form of dressing and a tandoori style naan bread.
I personally like to serve it with kachumber salad and cucumber and mint raita because the flavours are a perfect match.
Although my mung bean salad gives that combination a run for its money too!
You can also use roti or chapati and wrap it all together to make some fab paneer wraps.
But they are also superb served with something like dal makhani or rajma masala.
Or you could go full-on starter plate and add onion bhaji and samosas.

Equipment Used
I only name-check brands of equipment if I think they make a material difference to a recipe. But if you have any questions, feel free to ask them in the comments section below the recipe.
- Grill/broiler.
- Mixing bowl.
- Spoon for peeling ginger.
- Grater.
- Mixing bowl.
- Kitchen knife.
- Chopping board.
- Skewers, I prefer bamboo skewers.
- A combination of weighing scales and or measuring cups and spoons.
- Kitchen tongs.

Paneer Tikka Kebab Recipe
Ingredients
- 350 g Paneer 12oz
For the Tandoori Tikka Marinade
- 15 g Fresh Coriander ⅓-½ Packed Cup
- 35 g Ginger 1 Thumb Sized Piece
- 3 Garlic Cloves
- ½ teaspoon Salt
- ¼ teaspoon Ground Cumin
- 1 tablespoon Kashmiri Chilli Powder
- 1 teaspoon Garam Masala
- ½ teaspoon Turmeric
- 1 tablespoon Lemon Juice
- 2 tablespoon Cooking Oil
- 50 g Yoghurt ¼ Cup
- 1 Handful Freshly chopped coriander for Garnish
Instructions
- Cut the paneer into 25mm (1") cubes.
- Finely chop the coriander.
- Peel the garlic and mash it into a paste; a pinch of the salt helps with this.
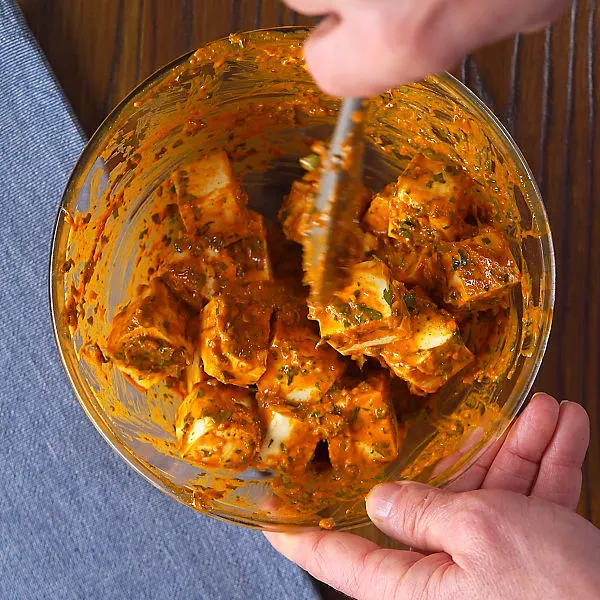
- Peel and grate the ginger, then mix it with all of the other ingredients for the tikka marinade.

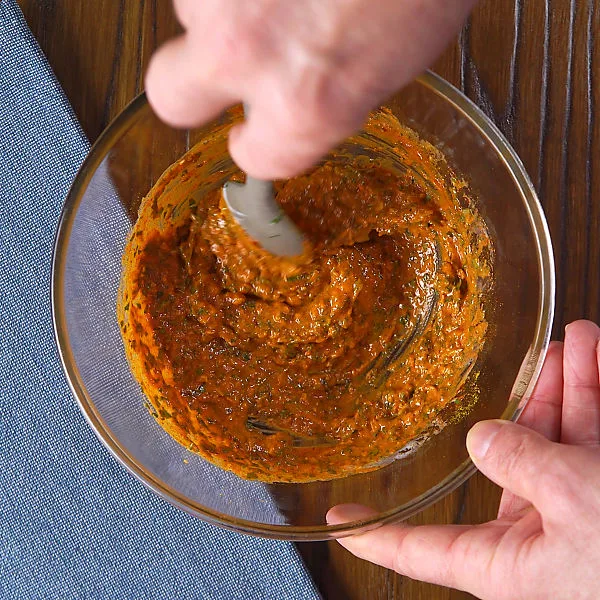
- Add the paneer and gently toss to coat well.Cover and allow to sit in the fridge until you are ready to cook. Try and leave this for at least 1 hour if possible, but you can cook this immediately if you need to.

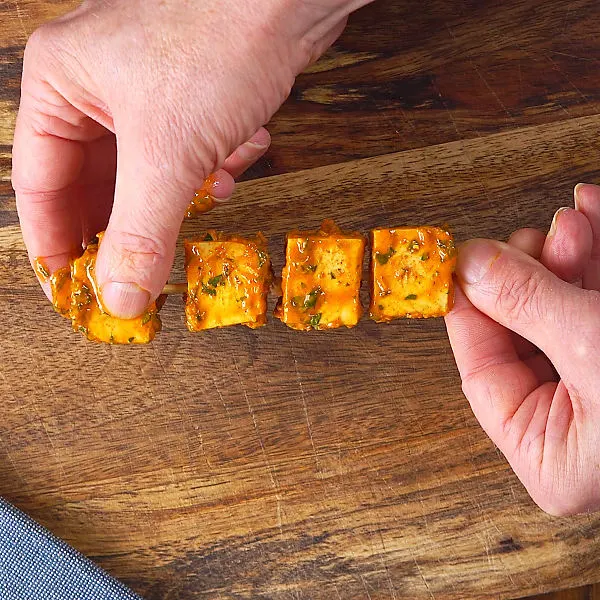
- Just before you are ready to cook, thread the paneer onto skewers. Do not be tempted to use skewers with a square profile; they will probably split the paneer!

Cooking Under the Grill (Broiler):
- Preheat the grill to its hottest setting.
- Place the kebabs under the grill and cook for 5-7 minutes, flipping over halfway through and serve immediately.If you are using an electric grill, you may not get the fierce heat of a gas grill, and as a result, giving the kebabs a quick blast with a blow torch can add some wonderful charring.
Cooking in an Air Fryer:
- Spray the basket of the air fryer with oil spray.
- Place the kebabs in the air fryer in a single layer and cook at 200°C or 400°F for 8-10 minutes, flipping over halfway through.
Cooking in the Oven:
- Preheat the oven to 220°C or 450°F, or if you have a fan-assisted oven, 220°C or 430°F.
- Place the kebabs on a wire rack and then onto a baking tray, cook in the oven for 12-15 minutes. Giving the kebabs a quick blast with a blow torch can add some wonderful charring.
Cooking on a BBQ:
- Get your BBQ nice and hot with a direct heat area and an indirect heat area.
- Oil the BBQ grid.
- Sear the kebabs over the direct heat for 1-2 minutes per side to get a nice colour.