


How to cook poppadoms… the low down on all of the ways to cook Indian papad, their pros & cons & my favourite method for this iconic snack.
Instructions for what I think are the two best methods to cook my favourite Indian munch, fried and microwaved.
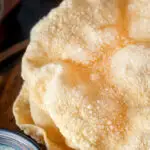
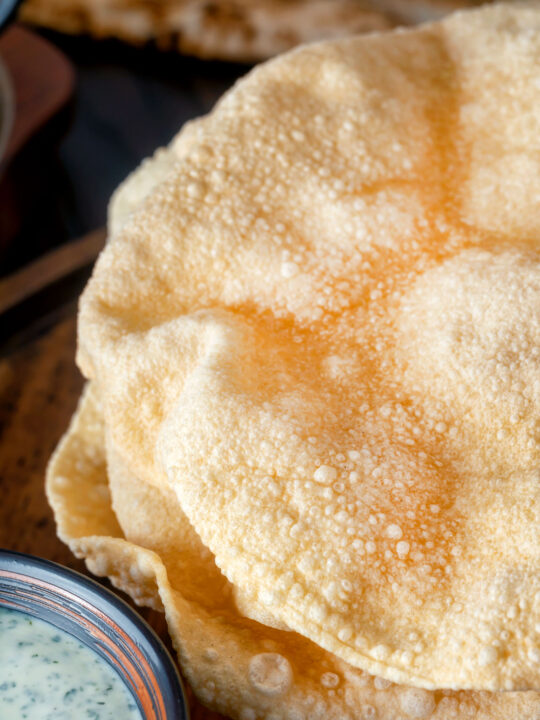
Perfect Indian Papad
Whether you call them poppadom, papad, pappadam or papadum, these crispy treats are an essential part of any Indian spread as far as I am concerned!
They join tandoori naan bread or chapatis as essential accompaniments to a curry.
There is much written about the "best" way to cook them, and all of them are stupidly simple.
Now I do not believe that there is any such thing as an "objective" best way to do anything in the kitchen, only personal preferences.
As far as I am concerned, only two of the methods are worth using: frying and pinging in the microwave!
By the way, the frying method for cooking poppadoms in the video is filmed in real-time; it really is that quick!
I attempt here to cover pretty comprehensively how to cook poppadoms. What I consider to be their pros and cons, and my favourite method!

Frequently Asked Questions
Can I make my own poppadoms?
Yes, making pappadom at home is relatively easy, they are essentially urad flour and oil... that's it!
However, they need to be dried before cooking, which is a lengthy process that needs space and either a dehydrator or the right conditions.
I have never been happy with the ones I have made at home, and I always buy them!
Do they need oil?
I cover each of the methods below, but in short, no. You can cook them in a microwave, under a grill, over an open flame or in the oven without oil
I personally do not like to do this. They feel quite "austere", and to me, they do not have a pleasing texture.
How long will they last when cooked?
I think that they are at their best eaten within 45-60 minutes of cooking, although I prefer to eat them immediately!
What is your favourite way to cook poppadoms?
As far as I am concerned, nothing beats frying poppadoms!
Only the first two ways listed below are worthwhile ways of cooking poppadoms, if I were to be pressed.

The Techniques
Frying Poppadoms.
For me, this is hands down the best way; it results in perfectly cooked papad with great flavour.
The only downside is the frying "thing", but they take 8-12 seconds to cook each one!
How to Cook Poppadoms in the Microwave.
A surprising tick in the box for me with this method. It works really well and they take between 20-35 seconds per poppadom.
They can be cooked without oil, but I prefer them brushed with oil; this still reduces the amount of oil over frying by about 25%.
The downsides are that they sometimes need flipping, and occasionally they catch in places. They are also not as crisp as frying.
How to cook Poppadoms in the Oven.
An "OK" method, however, I find that it is wasteful on the energy front because you need to preheat your oven as hot as you can get it.
Again, these can be cooked with or without oil; they crisp up but always cook more around the edges than in the centre.
Cooking Poppadom Over an Open Flame.
You can use either a gas hob for this or even a blow torch. I've not had a gas hob for 15 years, so I use a blow torch!
It is difficult to get an even cook and avoid charred parts of the poppadom; it's a theatrical method if you are aiming at showing off.
Cooking Poppadom Under the Grill.
A disappointing method, as far as I am concerned. They will cook, but as they expand, parts of them catch and burn.
Cooking Poppadom in an Air Fryer.
An abject failure! They are lightweight and get blown around, and sometimes get caught in the fan at the top.
I use a Phillips XXL air fryer; other brands may give different results.

Serving Suggestions
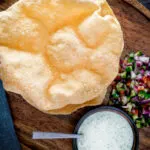
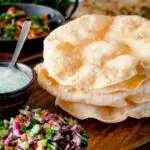
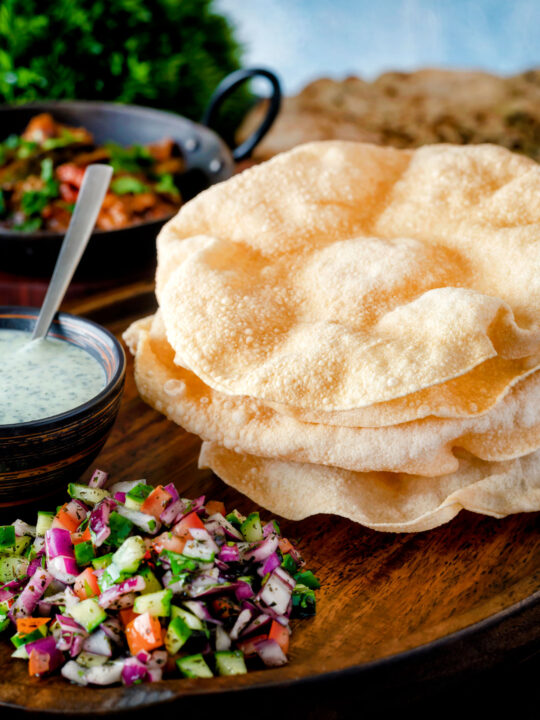
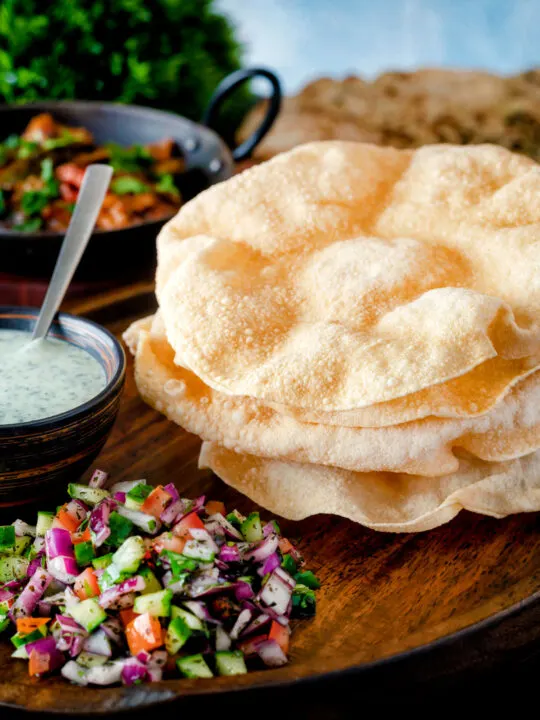
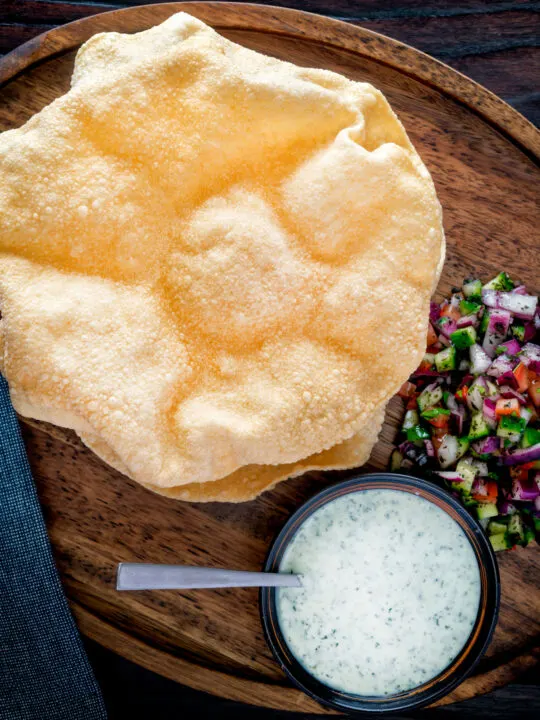
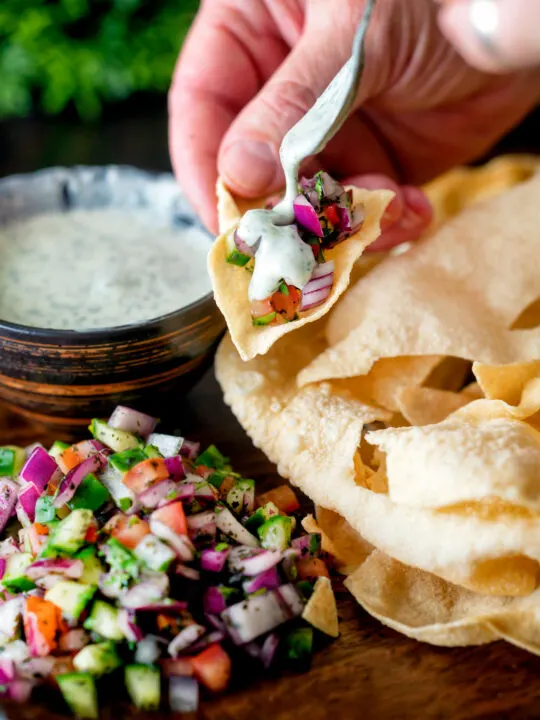
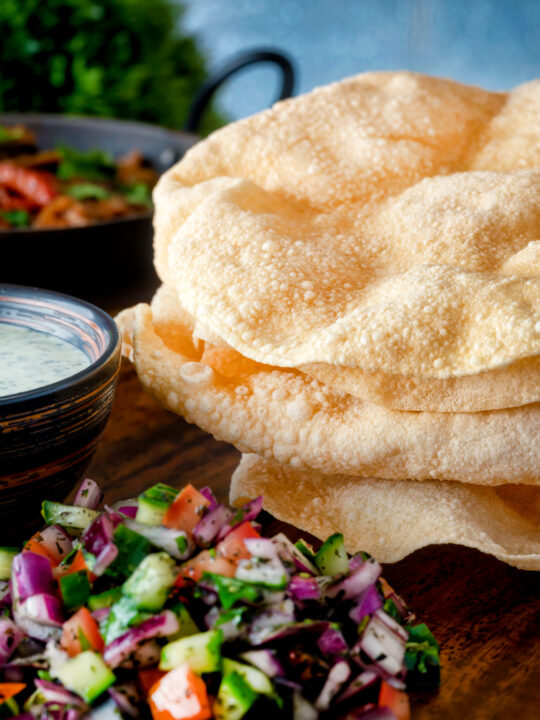
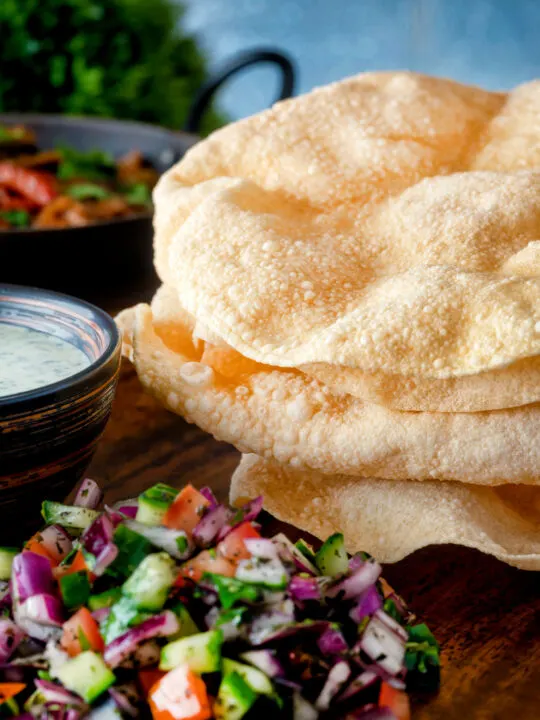
Poppadoms always need "stuff" to pile onto them after the ceremonial act of breaking them up.
I always serve them with a mint and yoghurt raita and my take on kachumber salad.
A bowl of chutney is also a good idea, whether you go for a classic mango chutney or lime pickle is up to you. I can neither confirm nor deny the reports that I usually opt for both!
They are also spectacularly good with my keema rice recipe!
But don't get wrapped up in this being the opening to a chicken tikka masala, butter chicken or mushroom biryani!
I will often make up a batch of poppadoms for a movie night snack and serve them with chutney, raita or even sweet chilli sauce!
Equipment Used
I do not recommend specifically branded pieces of equipment unless I think that they will help you make a recipe. But if you have any questions, feel free to ask them in the comment section.
- Hob/stovetop, microwave, oven, grill (broiler) or blow torch, depending on the chosen cooking method.
- 28cm (11"+) frying pan or skillet if frying.
- Food tongs and or fish slices if frying or cooking with an open flame.
- Pastry brush, if coating with oil.

How to Cook Poppadoms 4 Methods!
Ingredients
- 4 Uncooked Poppadoms
- Oil for Frying or Brushing
Instructions
To Fry:
- Heat 1cm (~½") of neutral cooking oil in a 28cm (11") frying pan over a medium-high heat. To test if the oil is hot enough, pinch off a piece of poppadom and drop it in the oil. If it immediately crisps, you are good to go!
- Add a poppadom and, using a combination of a fish slice and some tongs, flatten it out as it expands.
- Flip the poppadom after 5 or 6 seconds, then flip and cook for a final 2-3 seconds.
- Transfer to some kitchen paper to drain whilst you cook the rest.
To Microwave:
- Brush the poppadom with oil. This is optional; you can cook using this method without oil if you wish.
- Add the poppadom to the microwave and cook for between 20 and 35 seconds. Keep an eye on the poppadom and flip it over if parts do not appear to be cooking.
To Oven Bake:
- Heat the oven as hot as it will get; if you have a fan option, use that too.
- Brush the poppadom with oil. This is optional; you can cook using this method without oil if you wish.
- Place the poppadoms on a baking sheet lined with baking parchment, and put them in the oven. Cook for 75-90 seconds. Keep an eye on the poppadom and flip them if they look like they need it.
To Cook Over an Open Flame:
- Turn on a gas burner or prepare your blow torch.
- Brush the poppadom with oil. This is optional; you can cook using this method without oil if you wish, but it increases the risk of burning.
- Using metal tongs, heat the poppadom over the flame or pass the blow torch over the surface at a distance of around 10-12cm (4-5"). Keep the poppadom moving and avoid any sections that are browning.
- This method takes some practice and is a "showy technique" rather than one that returns reliable results.